ADVERTISEMENT
How To Contour Your Face Like A Pro?
Have you ever dabbled in the thought of how that perfect celebrity gets that impeccable chiselling? All makeup lovers worldwide have wanted to master the art of contouring, and they just intimidated you at first. But contouring can quickly transform into a fantastic activity in your beauty routine with the right tools and techniques. So, let's start making those discoveries about how to sculpt your face like a makeup artist!
What Are The Uses Of Contour Makeup?
Before going into the details, it is advisable to understand the purpose of contour makeup. Contouring refers to the art of applying makeup that throws shadows and highlights to define and shape the lines of one's face. It is all about enhancing that natural bone structure and achieving that sculpted look. The contour involves applying darker shades to those areas you wish to recess and lighter shades on the high points of your face to create an illusion of higher cheekbones, a more defined jawline, and even a slimmer nose.
Manipulating light and shadow is the definition of contour makeup on your face. A simple but powerful application can enhance features and balance facial proportions with the proper contour technique. Those of you just starting with makeup may find it tricky; however, these tips would be helpful in really getting a handle on this technique. So, let's get into a beginner's understanding of contouring and highlights.
Choosing Your Contour Makeup
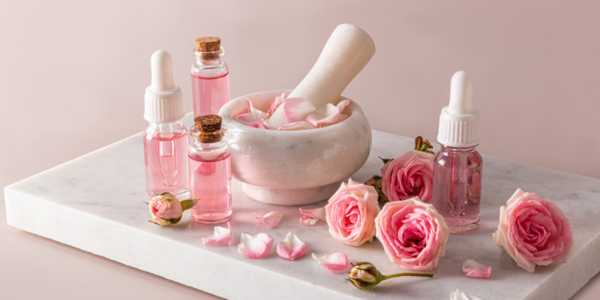
The first step in professional contouring is selecting the proper contour makeup products. The vast selection of products available can make it challenging to choose the ones that are right for you, depending on your skin type and goals. Contouring products come in cream or powder formulations, each with advantages and disadvantages.
Cream contours are excellent for dry or mature skin types. They blend nicely and impart a wonderful, dewy finish. Powder works well for oily skin types and gives a matte effect to absorb shine.
While selecting your products, always contour shades two or three tones darker than your skin and highlight shades two or three tones lighter. Most makeup brands have contour kits, which contain several shades and are helpful for novices. If using single products, choose a contour that resembles a real shadow on your face.
Beginner's Pro Contouring Procedures
With a great set of contour makeup products in one hand, the other can safely go towards learning how to contour like a pro for beginners. The steps may seem daunting initially, but they're straightforward once you learn it-yanked in five minutes. To assist you in looking sculpted, here is a simple step-by-step guide:
Skin Preparations
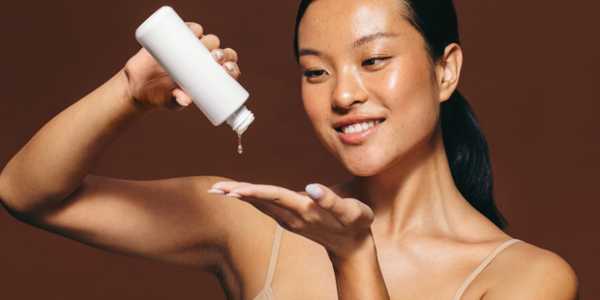
Apply your regular skincare steps and base them on your usual products. Your face should be well-moisturized, and the foundation should be nicely blended. Contouring is more exceptional on an even base.
Marking Your Contour Zones
Use a contouring stick or cream to create lines on those areas on your face where you want to cast shadows. Mainly, these areas would include:
• The hollows of your cheeks (below the cheekbones)
• Down the side of your forehead
• Down the side of your nose (if you want a slimmer nose)
• Along the jawline
Highlight The High Points
Use concealer or highlighter to call attention to your face's high points: cheekbones, nose bridge, and Cupid's bow. When light strikes them, these areas will be highlighted, giving an appearance of brightness and lift.
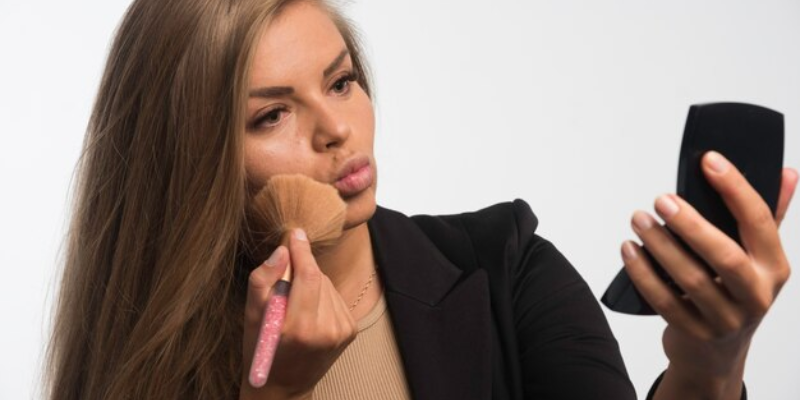
Blend, Blend, Blend
This is the most crucial step! Use a makeup sponge or brush to blend the contour and highlight products into the skin seamlessly. Make sure to take the time to blend the contour into the hairline and down to the jawline for an effortlessly seamless finish. The aim is to avoid harsh lines and create soft, natural-looking shadows.
Set With a Powder
After blending all products, set the makeup with a translucent setting powder to help keep the contour intact for the rest of the day. Voilà! You are now a pro at contouring.
Do You Contour Before Or After Powder?
A common question among novices is whether you contour before powder. The answer depends on which kind of products you are using. Generally, you want to contour before setting powder, especially with cream contour products.
The cream products blend best with the foundation but still have some tackiness. If you are working with powder contour products, they will continue after translucent powder is applied to set the foundation. This helps the contour powder adhere better and will avoid looking patchy.
To sum it up, contour first, set with powder, and then apply any other powders on top of blush and setting spray, for instance.
Contouring Like a Pro Tips
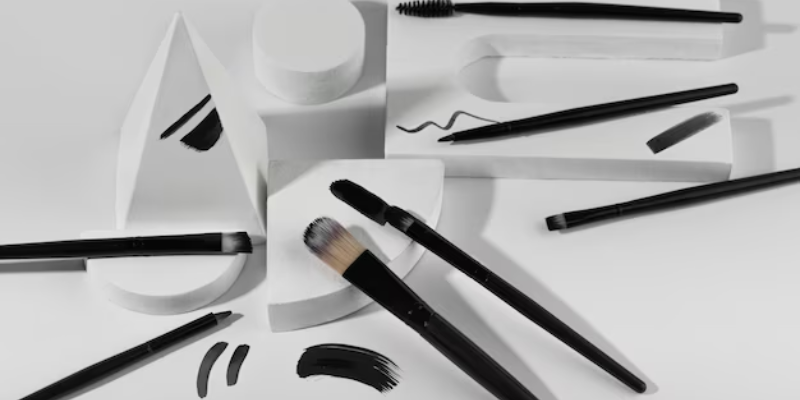
Choose the Right Tools: The right tools can make all the difference. Be sure to invest in a pleasing contour brush or makeup sponge made explicitly for contouring. The denser brush will permit precise placement of contour product, while the sponge will provide the best-blended appearance.
Start Light
One usually starts with a light hand when learning new techniques. If one wants something more dramatic, one can build the product up.
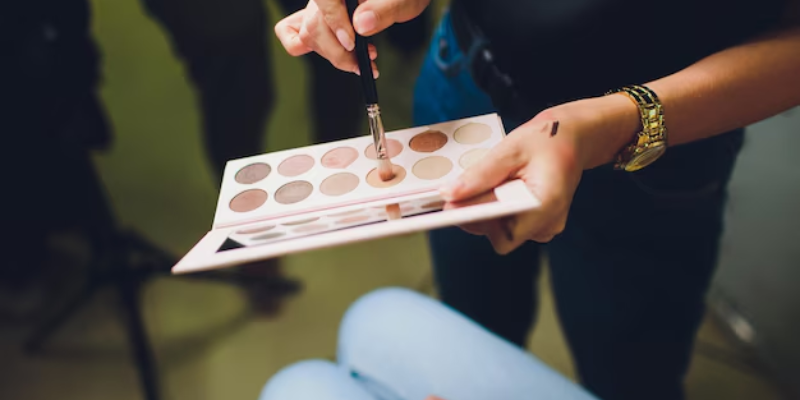
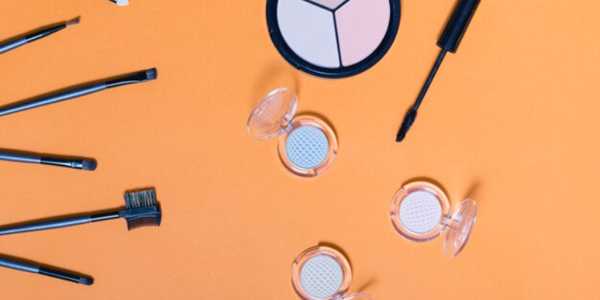
Use a Contour Palette
A contour palette lets you define and balance the look with various shades. Mix and match tones to create a shade ideally suited to your skin.
Pay Attention To The Jawline
Contouring the jawline helps heaps, especially if you want more definition to the chin. Apply the contour product on the jawline and blend downward for a soft look so as not to cause harsh lines.
Don't Neglect The Nose
Nose contouring considerably alters the face shape. To make the nose look thinner, contour the sides of the nose and blend accordingly. A small brush works best for this area.
Create a Perfect Makeup Look With The Right Contour!
Contouring is not complicated if you want to contour like a pro. With proper contour makeup for beginners, practice, and these few steps, you will be sculpting your face in no time like a makeup artist. The key to contouring products is to choose them wisely, blend them well, and have fun experimenting with different techniques.
Whether aiming for your go-to subtle contour every day or something bolder for a special occasion, once you master this technique, you will own any look you want. Now grab those brushes and get your contour on, sculpting your face like the pro you are!
Don’t Miss


ADVERTISEMENT